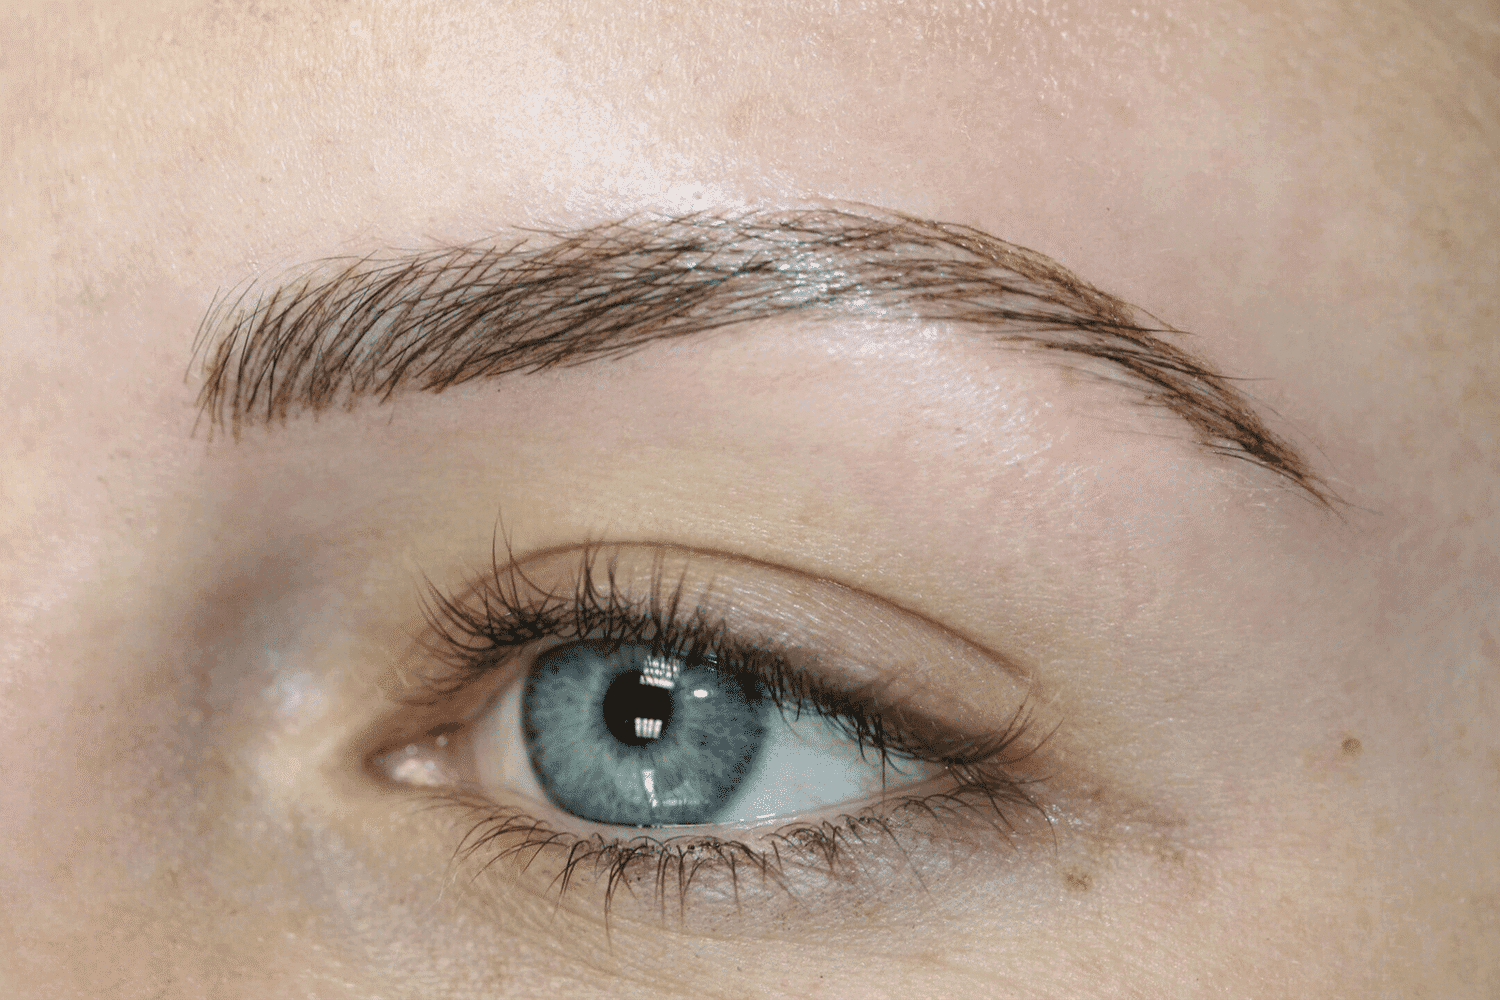
A productive microblading consultation is not a request to copy a photograph. It is a sequence of decisions about the untreated brow, old pigment, skin, desired visual texture, mapping, color direction, healing, and what will count as a successful settled result.
Bring the full brow history: pigment, removal, tinting, and skin treatments
Start with the history the artist cannot infer from a styled brow. Note previous microblading or tattooing, removal attempts, brow tint or lamination, hair-growth products, scars, skin conditions, allergies, medications, and recent facials or peels. Bring photos of the brows without pencil when possible. Describe where hair is sparse and where it naturally changes direction. This material helps the artist identify constraints before drawing a map. It may also reveal reasons to wait, request more information, or discuss correction before adding new pigment.
Describe the healed finish before choosing strokes or shading
Next, define the healed appearance without relying on one procedure name. Do you want visible hair-like texture, a soft makeup shadow, more density through the middle, a quieter front, or a combination? Discuss how much daily pencil you hope to replace and how much definition you are comfortable seeing without makeup. The artist can then explain whether manual strokes, machine work, shading, or a mixed approach is more suitable. The map should be reviewed from multiple angles and during normal expression, not approved under pressure once treatment has begun.
Approve the map, color direction, healing plan, and follow-up criteria
Finish the consultation by making the process concrete. Ask how fresh darkness differs from healed color, which aftercare instructions apply to your skin and routine, what visible stages may affect work or events, and when retention can be evaluated. Clarify what the initial fee and follow-up include without assuming that every brow needs more pigment. Ask how future maintenance is decided when shape, color, or saturation changes. A thoughtful plan leaves room for the artist to say that waiting is safer than forcing a calendar.
Use untreated photographs to make mapping more honest
Take front and three-quarter photographs in daylight before pencil, tint, lamination, or brow gel changes the baseline. Do not edit symmetry or crop away the forehead and eyes; the surrounding face helps explain proportion and expression. Mark the areas where you normally add makeup, then write what bothers you about leaving them bare. The issue may be an empty tail, uneven density, a low point in the arch, or simply the time spent recreating a shape. Bring those images alongside references, but label each reference with the quality you like rather than the person whose brows you want copied. During mapping, compare the drawing to the untreated photographs and check it while sitting upright, speaking, and making ordinary expressions. This does not make the artist reproduce the makeup sketch. It gives both sides a specific record of the starting point and prevents a fashionable reference from replacing the client's own anatomy.
When you are ready, explore microblading with Ruth Swissa and bring your untreated photographs, treatment history, healed-finish references, and mapping questions to the consultation.